Are You a Parent at Increased Risk for Depression?
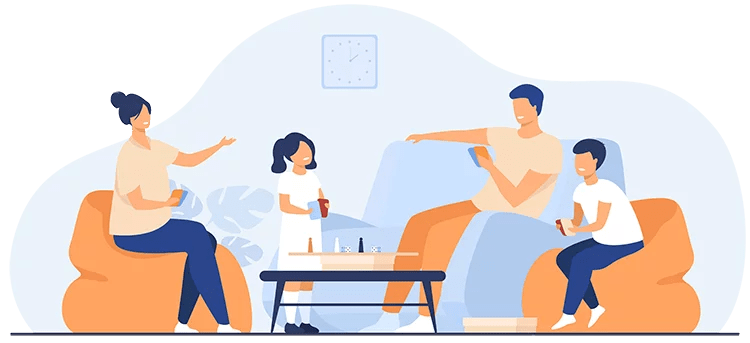
I am a mom of two, now adult, children with behavioral health challenges and I work as a Family Peer Supporter helping other parents currently raising children with special healthcare needs including behavioral health. As a Family Peer Supporter, I get to walk beside families and help lift their burden by listening and connecting through a shared lived experience. Parenting is stressful in and of itself. It’s a full-time job with no training manual. Parents don’t clock in and clock out. They don’t get to call in sick. And a literal life depends on how well you do! Like most moms, I envisioned the future for my children including friends, activities, school, summer camp, growing up, high school dances, graduation, college, marriage, children of their own, and so on.